
Can You DIY - Installing A Bathroom Vanity
Today we launch a new series asking the question: “Can you do it yourself?”
This series explores home improvements and other fun (but sometimes challenging) projects to determine if you can tackle them yourself or if you should hire a professional. I’ll be doing most projects myself, despite having no formal experience with home improvement, construction, or engineering. I simply enjoy learning new skills, and this series gives me the opportunity to try various home improvements while showing you what to expect.
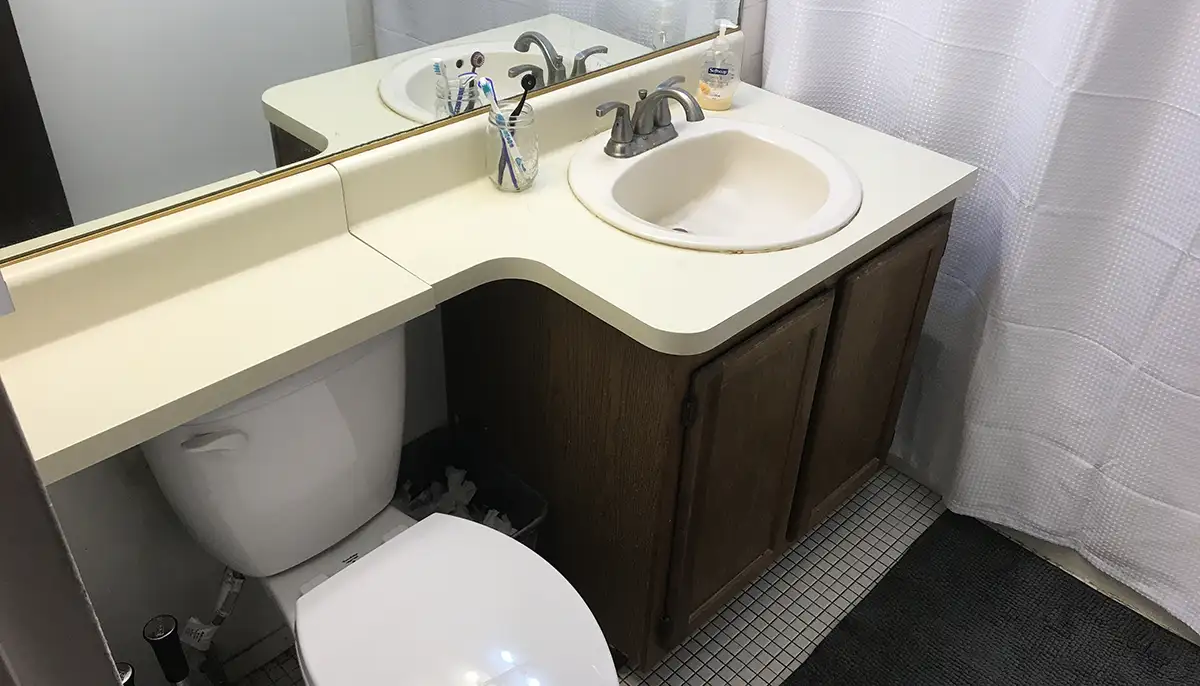
First Project: Bathroom Vanity Installation
Our first DIY challenge is installing a bathroom vanity. This project involves plumbing work, some demolition, and careful installation of a new fixture—all skills that many homeowners want to learn but might feel intimidated by.
Tools and Materials You’ll Need
Before starting any DIY project, gathering the right tools and materials is essential. For a bathroom vanity installation, you’ll need:
Tools:
- Adjustable wrench and pliers
- Utility knife
- Bucket (for water collection)
- Hammer and chisel
- Screwdriver (Phillips and flathead)
- Level
- Drill with bits
- Drywall anchors (if needed)
- Putty knife
Materials:
- New vanity cabinet (properly sized for your space)
- Vanity top with sink
- New faucet
- P-trap and drain assembly
- Water supply lines
- Plumber’s putty
- Silicone caulk
- Drywall patch materials (if needed)
- Paint for touch-ups
Step 1: Removing the Old Vanity
The demolition phase is often the most satisfying part of a renovation project, but it requires care to avoid damaging your plumbing or walls.
Turn Off the Water
Always start by shutting off the water supply to your sink. This is typically done using the shut-off valves located under the sink. If these valves are old or not functioning properly, you may need to turn off the main water supply to your home.
Disconnect the Plumbing
Place a bucket underneath the P-trap (the curved pipe under the sink) to catch any water that may spill out. Use an adjustable wrench to loosen the nuts connecting the P-trap to the drain. Then disconnect the water supply lines from the faucet.
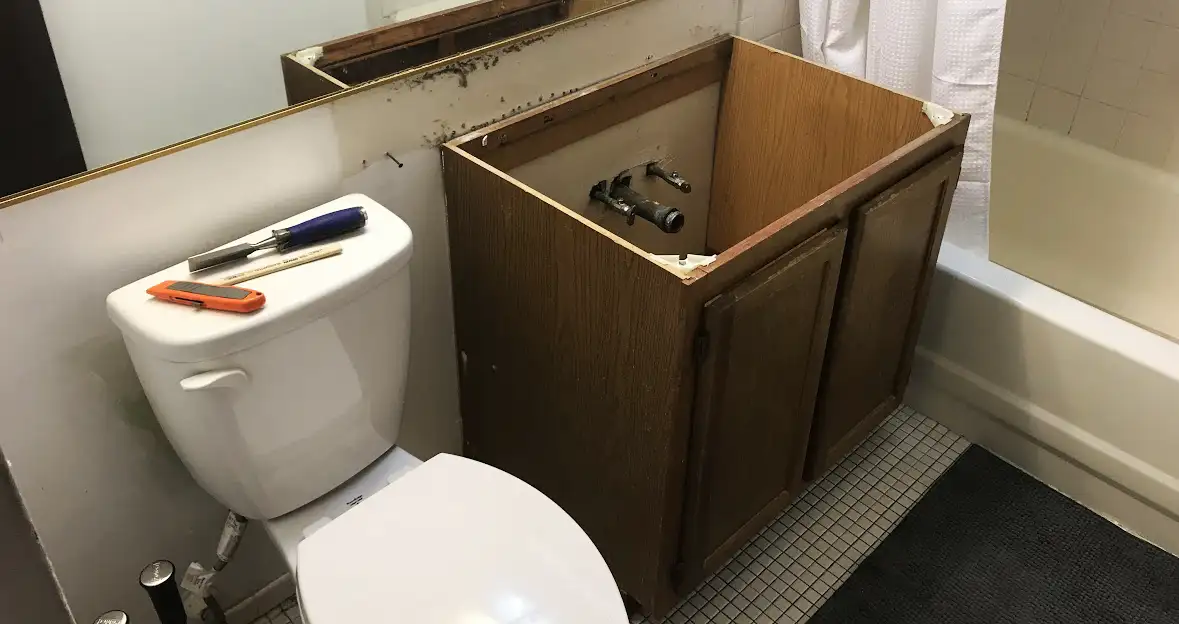
Remove the Vanity Top
Check for caulking around the edges of the vanity top and use a utility knife to cut through it. For stubborn vanity tops, you may need to use a chisel to carefully separate it from the cabinet below. Be cautious not to damage your walls in the process.
Remove the Vanity Cabinet
Look for screws securing the vanity to the wall and remove them. Once all attachments are removed, you should be able to pull the cabinet away from the wall. This step rates about a 1/10 in difficulty but feels very satisfying when complete!
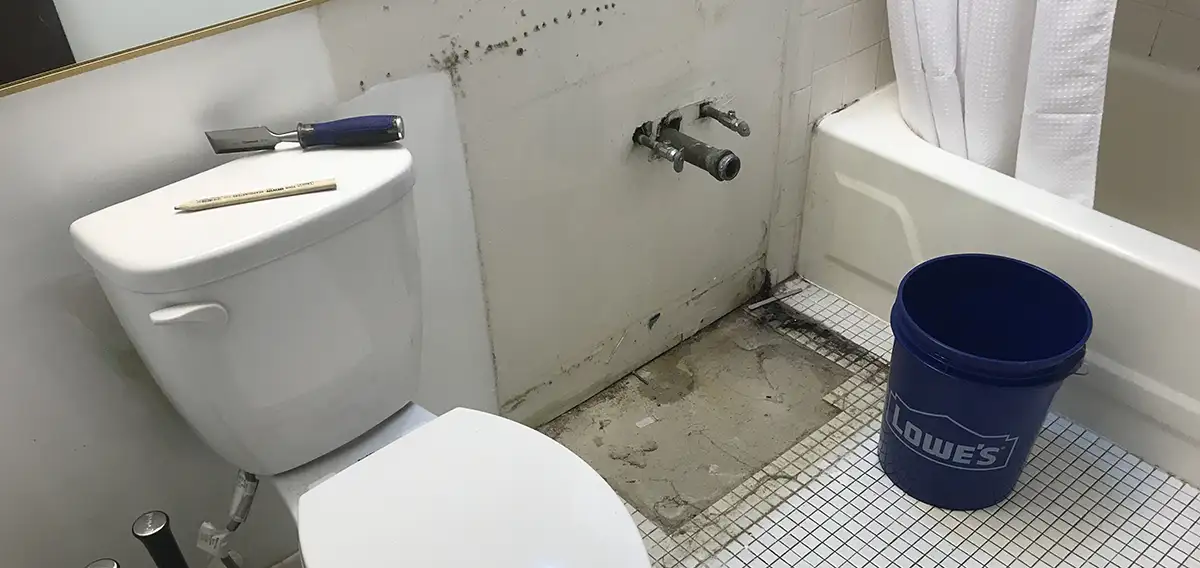
Step 2: Preparing the Space
This crucial intermediate step is often overlooked in DIY guides but can make a significant difference in your final results.
Clean and Repair
After removing the old vanity, you’ll likely find accumulated grime, possibly some mold, and wall damage that needs attention. Take time to thoroughly clean the area and address any issues:
- Clean any mold with appropriate products
- Patch holes in the drywall (remember there’s a difference between spackle, joint compound, and plaster of Paris—choose the right one for your repair)
- Sand repaired areas smooth
- Paint the wall behind where the vanity will go
This prep work took me about 5-6 hours—much longer than anticipated—but resulted in a much cleaner and more professional-looking installation. Despite the time investment, the difficulty level remains around 3/10 for this phase.
Step 3: Installing the New Vanity Cabinet
The installation phase requires precision and attention to detail to ensure your vanity is level and secure.
Position the Cabinet
Place your new vanity in position against the wall. Check that it’s centered with your plumbing and use a level to ensure it’s perfectly horizontal.
Secure to the Wall
Ideally, you’ll want to screw the vanity into wall studs for maximum security. If studs aren’t available where needed, use drywall anchors rated for the appropriate weight. I had to use drywall anchors for my installation since there were no studs in the right position.
Pro tip: After securing the cabinet, double-check that it’s still level before proceeding.
Step 4: Installing the Faucet
It’s usually easier to install the faucet before placing the vanity top on the cabinet.
Follow Manufacturer Instructions
Every faucet is different, so carefully read the instructions that come with yours. This step is like a “choose your own adventure” book rather than a complex puzzle, but attention to detail matters.
Key Installation Steps:
- Apply plumber’s putty around the faucet bases
- Insert the faucet through the holes in the vanity top
- Secure from underneath with the provided hardware
- Connect the water lines to the faucet
This process took about an hour for me as a first-timer, including some backtracking after missing a step in the instructions. The difficulty level is still manageable—about 4/10.
Step 5: Connecting the Plumbing
With the vanity secured and the faucet installed, it’s time to connect everything to your home’s plumbing system.
Install the Drain Assembly
Follow the manufacturer’s instructions to install the sink drain, including the P-trap that prevents sewer gases from entering your bathroom.
Connect Water Supply Lines
I used BrassCraft water supply lines and replaced the shut-off valves to ensure everything would function properly. When dealing with plumbing, it’s worth investing in quality components to minimize the risk of leaks.
Test for Leaks
Turn the water back on and check all connections for leaks. Have a towel ready to quickly address any issues. Run both hot and cold water through the faucet and observe all connections for several minutes.
The Verdict: Can You DIY It?
Difficulty Rating: 4/10
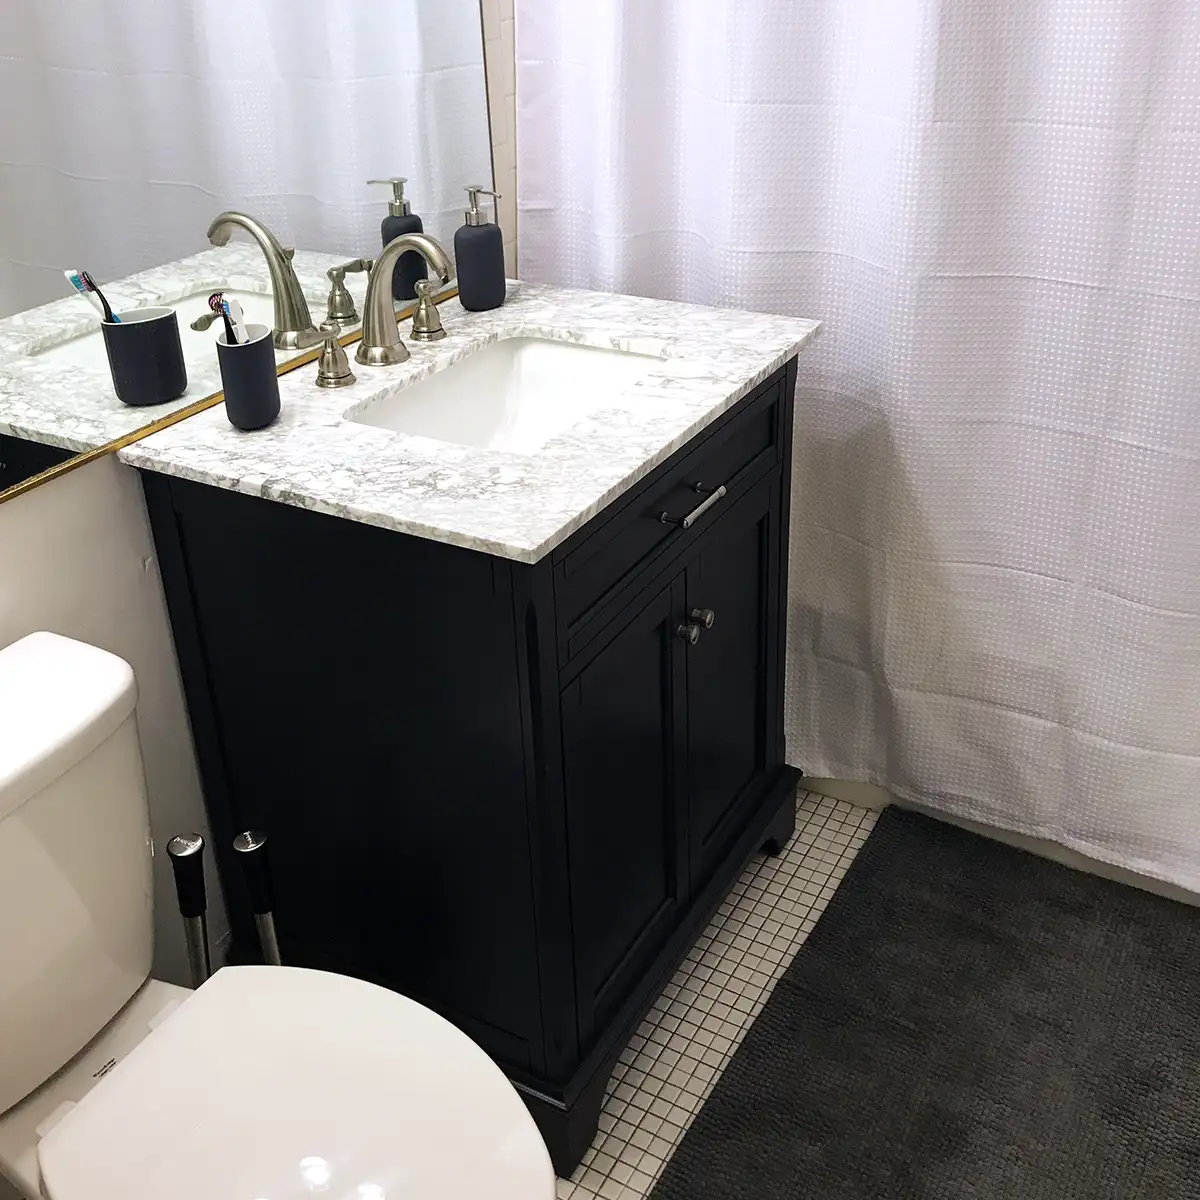
Yes, you absolutely can DIY a bathroom vanity installation! While the project had a few challenges and took longer than expected (about 7-8 hours total), none of the steps required specialized knowledge that couldn’t be learned along the way.
The most important factors for success are:
- Following instructions carefully
- Taking your time with each step
- Being willing to ask for expert advice when needed (special thanks to Scott and Doug from Lowe’s in Robinson Township, Pittsburgh, who helped ensure I had all the necessary parts)
The best part about DIY projects like this is knowing you’ve improved your home with your own hands. Not only does a new vanity enhance your bathroom’s appearance and increase your home’s value, but you’ll also have the satisfaction of completing it yourself—and saving money in the process!
What’s Next in Our DIY Series?
Stay tuned for more “Can You DIY?” projects as we continue to test the boundaries of what homeowners can accomplish with a little determination and the right guidance.
A Video of the Install
About the Author

Ray Abel
Founder
Ray is the founder of Stray Monkey, and as a shameless plug he wants to remind you to check out the SetScribe sports card collection app.
Share This Article
 Check These Out


Support A Good Cause
![]()
Content not available. Please disable site blocker to view.
About Stray Monkey
Stray Monkey is your source for entertainment, travel, and lifestyle content that's a little off the beaten path.
Learn more about usQuick Links
Follow the Stray Monkey
