For years I never really drank coffee, and when I did I made sure it was loaded up with cream and sugar. Caffeine doesn’t do much for me, and all the coffee I had tried tasted terrible by itself, so I didn’t see much point. This all changed after I finally went to a good local coffee shop and ordered a cappuccino. It was incredible, even without sugar— that taste you imagine when you smell coffee brewing. Not burnt and bitter, but roasty and rich.
It turns out there’s a big difference between bad coffee and good coffee. Imagine if the only toast you’d ever had was stale and burnt: you’d think it was terrible, and you could only eat it with tons of butter and jam. But that’s most people’s experience with coffee, if you’ve never gone beyond what Starbucks has to offer. Most of it comes down to using fresh beans that are roasted right and ground just before brewing.
There are many ways to brew a good coffee drink, but I think the easiest to enjoy is a cappuccino or latte. If you’ve never had a good cappuccino, you owe it to yourself to try one next time you’re near a good coffee shop. You can usually tell the type of shop I’m talking about by the menu. Instead of mostly flavored drinks, the main menu will feature the basics: drip coffee, espresso, and various combos of espresso and steamed milk.

A cappuccino is espresso with steamed milk, which prompts the question: what exactly is espresso? Contrary to popular belief, espresso isn’t a type of bean or roast—it’s a method for brewing coffee at high pressure and temperature. By extracting flavor from the beans at almost ten times atmospheric pressure, you get an intensely rich shot that makes the perfect base for a good coffee drink.

Once you get used to it, you may even find that you like espresso by itself, as long as it’s a great shot. In Italy they drink espresso like this every day. But once you’ve gotten hooked on espresso drinks, you might start thinking: could I do this at home instead? It feels a bit much to shell out for $4 coffee shop cappuccinos on a regular basis when you can make drip coffee at home for less than a buck. Not to mention the satisfaction of being able to make a delicious drink (or affogato) for yourself or a date.
I had the same thought, and after doing some research I was disappointed to find the common wisdom that you need to invest $2,000+ in gear if you want to make coffee shop quality espresso drinks. Since the coffee is extracted at such high pressure, small differences in the quality of the gear can have a huge impact on the brewed espresso. I wasn’t about to spend that kind of cash, and so I spent about $250 on a decent budget grinder and espresso machine, and made a few mods to improve my setup. After all my tweaking, I was able to make some decent cappuccinos, but they were never as good as a coffee shop. Even with fresh roasted beans, the shots were a tad bitter and didn’t have that smooth sweetness of a great shot of espresso.
Four years later, I’m excited to say I’ve finally found a setup that works for my budget and gives me the tools to make cafe quality cappuccinos at home. The key I found for great espresso without breaking the bank was to go manual: with a lever-press machine, a hand grinder, and a bit of practice, you can learn to make espresso as good as or even better than what you get from much more expensive automatic equipment. Just like anything manual, it’s up to you to develop the skills to get the most out of the machine, but the added level of control gives you the ability to make some incredible coffee.
There’s a lot of info out there on how to brew espresso, and you could spend months diving into the details. I encourage you to read up on it further if you’re interested, but I’m going to walk you through everything you need to pull a delicious shot of espresso and make your first cappuccino at home.

To make espresso, you need a machine that can press hot water through coffee grounds at 9 bars of pressure. Aeropress and moka pots make great strong coffee, but it’s not espresso. The most common types of machines are powered semi-automatics: you grind your beans, load the coffee grounds into a portafilter, tamp them down into a “puck”, fire up the machine, then run pressurized hot water through the puck to extract the flavors from the grounds. The good ones start around $800 (not including the grinder), and if you want the most control over your extraction you could be looking at $2,500 just for the machine. The other main category is manual machines: instead of generating the pressure from a powered pump, you generate it yourself using a lever. The first espresso machines were all manual, and you can get the best bang for your buck this way if you’re willing to deal with a bit of extra effort.
One red flag to look out for if you’re considering a lower-end machine: most of the budget options include “pressurized portafilters” which have a valve that forces extraction at 9 bars of pressure. To brew good espresso, the pressure needs to come from having fresh beans ground at just the right size. Too coarse and the pressure will be too low; too fine and you might not be able to force any water through the grounds at all. Because these manufacturers know most customers aren’t going to make the effort to buy fresh beans and dial in their grind size, they include this pressure valve to simulate the crema (foam) you see in good espresso even with old beans and a coarse grind. It’s just an illusion: it won’t make bad espresso taste any better, and it will give you less feedback if you’re trying to get your grind size right.

So, after extensive research, the machine I chose for my new setup was the Flair Signature Pro ($309), and I’ve been very happy with my results after two months of using it. The Flair is about as simple of a machine as you could imagine for making espresso: you boil water in a pitcher, pour it into a brew chamber with your packed coffee grounds, then press the water through the chamber using a lever. This simplicity means it can be produced at a reasonable cost while still giving you enough control to make great espresso. If you decide to go with a manual machine, there are a few other reasonably priced lever machines out there which you may want to consider, though I haven’t tried them myself.
After my mediocre experience with my first espresso machine, it’s been amazing to be able to reproduce the shots I can get at my local coffee shop at home, and it makes me much more inclined to experiment with different beans and grind settings since there’s a clear difference between a good shot and a bad shot. With the old machine you knew the shot was always going to be a bit off no matter what you did. There’s also something satisfying about doing the whole thing by hand as well: grinding the beans, tamping them into the portafilter, the pressing the syrupy shot out of the basket. You feel in control during the whole extraction in a way you don’t with an automatic machine. It's also makes a great conversation piece out on the counter!

Skimping on your grinder is one of the biggest mistakes many people make when starting to make espresso at home. There are two things you need when grinding for espresso: evenly sized coffee grounds, and the ability to make fine adjustments to the grind size. With a cheap grinder you’ll end up with some grounds that are too large and some that are too small, which means when you pull your shot the small grounds will “overextract” (bitter flavors) and the large grounds will “underextract” (sour flavors). Not good! To get uniform particles you’ll want a burr grinder, which uses a precise grinding wheel for an even grind. It’s practically impossible to make espresso with a blade grinder, which just whacks up the beans with a spinning blade. Again there are pitfalls here on the budget end: some machines that claim to be burr grinders actually have “false burrs” which just mash up the beans. Once you’ve found a good burr grinder, you also need to make sure it has enough precision for adjustment in the espresso range. The grind size is going to be the main factor in getting your shot dialed in to extract at the right pressure and speed, and many machines only have a couple of settings that work for espresso. At the bare minimum you need a machine with 40 overall adjustments, but ideally go for a “stepless” grinder which lets you make adjustments as fine as you want.
Here again you get the best bang for your buck if you’re willing to use a manual grinder. After research and recommendations from other Flair users, I chose the Kinu M47 Phoenix ($219) which has great burrs, adjustability and ergonomics, matching the performance of much more expensive automatic grinders. There are a number of other good options out there (including this new one from Flair), but I can only personally vouch for the Phoenix. It takes me about 30-45secs to grind enough for a shot, compared to 2-3 minutes for a ceramic hand grinder.

In order to make a good shot of espresso, consistency is key. You’re going to want a 0.1 g kitchen scale for weighing your beans and then weighing your shot (typically going for a 1:2 ratio). I actually went for the Acaia Lunar, which is a bit overkill but looks gorgeous and includes a shot timer. If you want to spend a bit more on aesthetics and functionality I highly recommend the Lunar (or the new Pyxis Ultralight), but you can also find $15 scales off of Amazon that are perfectly good for this purpose..
Hot Water
Semi-automatic espresso machines include a water boiler, but some lever machines do not. Instead you will need a way to boil water for your brew; I recommend an electric kettle for rapid heating and maintaining temperature.
Beans
Now that we’ve covered the gear, the last key step is to buy some fresh roasted beans (never pre-ground). Even when you buy whole beans from the grocery store, they’ve usually been sitting out for months, and won’t give you the flavor you’re looking for in a shot of espresso. Instead, find a local coffee roaster that will print the roast date on their bags: you’re looking for beans that are 1-2 weeks old, a month at the very most (and by then the flavor is declining). You can usually find fresh roasted beans in 12-16 oz bags at a good local coffee shop, and otherwise there are plenty of good roasters that sell online. Beans and blends from different parts of the world taste different, and part of the fun of brewing at home is to figure out what kind of beans you like. A good approach to start with is to find a coffee shop that makes a cappuccino you like, then buy a bag of the beans they used for the shot that went into that cappuccino.
Dialing In
Now you’re finally ready to brew. The exact technique will change depending on what machine you use, and ideally you’ll find an online community of users for your machine who can suggest tips and tricks for getting the most out of it. For instance, there is a very active Facebook group of Flair users that I joined when I got my machine. I’ll give a quick video overview of how I use the Flair at the end (there are more detailed guides online), but in general, here’s the process you’ll be going through with any machine.
Every time you get a new batch of beans, you’ll need to find the right grind size to use for extraction. This involves a bit of trial and error, and it’s called “dialing in” your shot. Basically, you’ll make your first guess on a grind size based on past experience, then see if the shot pulls too fast or too slow. Then adjust the grind until the shot comes out just right. It will usually only take one or two shots before you find a setting you can use for the rest of your bag, though you may need to very gradually adjust finer as the beans age over the 1-2 weeks that you’re going through them.
Otherwise, you’ll want to keep every other variable as consistent as possible so that you can isolate the effects of the grind size on your shot (e.g., the number of grams of coffee that go in your portafilter, the ratio of dry grounds to the final weight of your shot, the tamping pressure, the brew temp of the water, the brew time to hit your brew ratio). With the Flair I’ve been using 18g in, 36g out and aiming for about 45s brew time. Taste is the final judge; if it’s too bitter, try increasing your grind size a touch; if it’s too weak or sour try grinding finer. I’ve also gotten a bit of sourness when I didn’t brew hot enough.
If everything goes well and you’re using fresh beans, you should end up with a shot with plenty of crema (doesn’t affect flavor directly but lets you know your beans are fresh), and it should taste intense but not burnt, overly bitter or sour. I’ve come to really enjoy a good shot of espresso just by itself, and maybe you will too.
Tamping and Distribution
When preparing your puck of coffee grounds, the most important factors are even grounds distribution, a level puck and consistent tamp force. It matters less how hard you tamp than how consistent you are. To get an even distribution, it can be helpful to give your grounds a quick stir with a paper clip or a cheap potter's needle, then give the basket a shake and a tap to let the grounds settle before tamping. There are also a number of specialized tamping tools you can consider, such as the PUSH tamper for consistent tamping depth (just make sure it fits your basket size), but it's more a matter of personal preference.
Steamed Milk
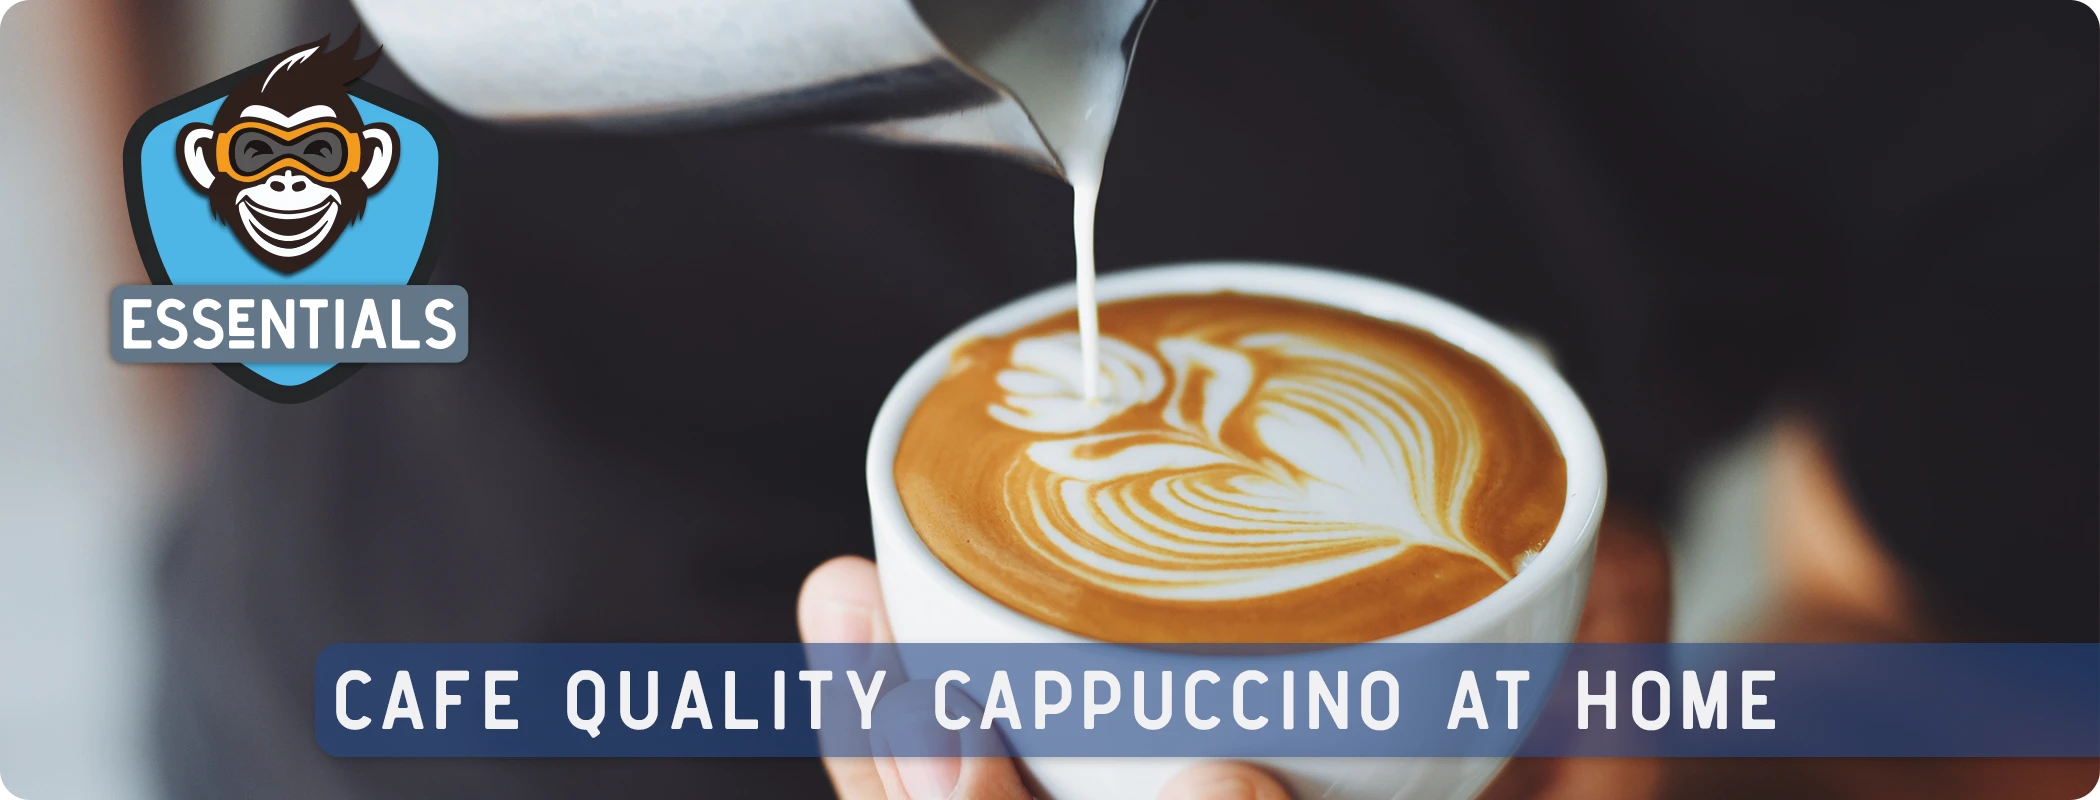
Now that you’ve got your espresso, the last step for a cappuccino or latte is to add steamed milk. At a coffee shop, the barista uses a steam wand on the espresso machine to inject tiny bubbles into a pitcher of milk and heat it up; this creates the “microfoam” textured milk necessary for pouring latte art.
Just to be clear though: you don’t need latte art to enjoy a good cappuccino. There are some quick low-cost ways to steam milk that will make for a very good drink. Probably the easiest is to use a $10-20 plunger or frothing wand (you can also use a French press if you have one). If your frothing device doesn’t have a heating element, you will want to heat your milk on the stove or in the microwave first.
No matter how you froth your milk, the absolute most critical thing is not to overheat it!! The ideal milk temperature for a cappuccino is 140-155°F. Once you start going above 160°, the milk starts to lose its sweetness and will taste more and more scalded until it reaches a boil. I made this mistake for a while with my old budget espresso machine and it’s a great way to kill a cappuccino. So, if you’re heating the milk separately, use a thermometer to make sure you don’t go overboard. If you’re using a steam wand and frothing pitcher, when the frothing pitcher gets hot to the touch you’ll know it’s time to stop.
Now, although it’s not necessary, making nice latte art is a great finishing touch after all the work you’ve put into getting a good shot of espresso, especially if you’re serving it to someone else. Be prepared for a steep learning curve though. There are two key steps to making latte art: first, getting your milk textured to “microfoam” consistency (most frothing tools other than a steam wand will make foam that’s too thick), and second learning the pouring techniques and patterns. Without good microfoam, you can’t pour any patterns at all. I have seen videos of people successfully making microfoam from a French press pitcher and pouring great latte art with it, but I found it too difficult to get the right consistency. For a manual machine like the Flair that doesn’t have a steam wand, a great alternative for making microfoam is the Bellman Stovetop Steamer.

If you want to learn how to texture milk with a steam wand and learn basic pouring techniques, I highly recommend this video. Generally speaking, once you have your textured milk, you want to start pouring a thin stream a few inches from your cup so it mixes in well with the espresso, and once the mixture is about doubled in volume, you drop the pitcher close to the surface of the coffee to start creating contrast and pouring your pattern. The microfoam then transitions from plunging under the surface of the coffee to resting on top.
While I’m still very much a beginner with both texturing and pouring (as you can see from the video), I’ve starting getting some nice results at home already, like the one below from last week!

Most importantly, with the great shots I’ve gotten from the Flair along with properly heated steamed milk, my wife and I finally enjoy cappuccinos at home as much as the ones from our favorite coffee shop.
Final Considerations
While a lever machine like the Flair was great for us, it’s not for everyone. If you want to start exploring the world of espresso and learn to make cafe quality drinks at home, it’s an amazingly accessible way to do so, and I’ve been extremely happy with my experience overall. However, if you just want an efficient coffee routine to start your day and you don’t mind going to a coffee shop when you want a great drink, you may be happier with an automatic machine. The Flair is really only practical for one or two drinks at a time, and you have to be willing to put in some work to master it. Boiling the water and preheating the components (as well as the Bellman steamer if you’re using it) means 10-15 minutes of prep time before you brew.
We’ve demoed a Breville Barista Express semi-automatic machine, which can be a good compromise: it still makes pretty good espresso drinks on a comparable budget (though in our opinion the Flair is noticeably better), but the boiler, grinder and steam wand are built into the machine so it’s very efficient whether you are serving for yourself or for multiple guests.
Conclusion
We’ve been loving the ability to make cafe quality cappuccinos at home, and we hope this overview helps you along in your coffee journey. If you decide to try out any of this equipment and start making espresso drinks at home, we’d love to hear how it goes for you!